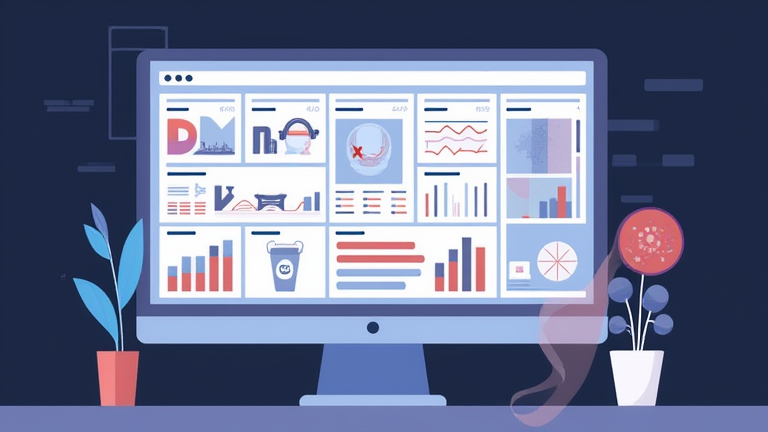
TL;DR: Create a centralized Notion dashboard by linking key databases to a single page for instant access to all your information. Use filters and templates to automate routine tasks, transforming your workspace into an efficient, searchable second brain.
Step 1: Design Your Core Databases
Start by establishing the foundational databases that will hold your data. Common pillars include Projects, Tasks, Notes, and Resources. For each database, define consistent properties such as status, priority, due date, and tags. Consistency here is crucial because it allows for reliable filtering and linking later. Avoid creating too many databases initially; start with three or four core areas and expand only when necessary. This step ensures that your information is structured logically from the start, preventing future clutter and disorganization.
If you want to dig deeper, check out our guide on Remote Work Benefits: Why It’s More Than Just a Paycheck.
Step 2: Create the Main Dashboard Page
Build a new page titled “Second Brain” or “Command Center.” This page serves as your primary entry point. Keep the layout clean and uncluttered. At the top, add a brief description of how you use this space to remind yourself of the system’s purpose. You can add a header image or a quote to set the tone, but focus primarily on functionality. This page will not store data directly but will act as a window into your databases. It is the control panel for your digital life, so its design should be intuitive and easy to navigate daily.
Step 3: Add Linked Views with Filters
Now, connect your databases to the dashboard using the “Linked view of database” block. For your Tasks database, create a view filtered to show only “Today” or “Upcoming” items. For Projects, create a view that displays “Active” projects sorted by deadline. For Notes, perhaps show recent or starred items. Each linked view should have a specific purpose and a clear title. Use different columns or blocks to separate these views visually. This step transforms raw data into actionable insights, allowing you to see exactly what needs your attention without digging through archives.
Step 4: Implement Templates and Automation
Enhance efficiency by adding templates to your dashboard. Create a “New Project” template that automatically populates fields like goals, deliverables, and success metrics. You can also add buttons or quick-add forms for capturing new ideas or tasks instantly. Notion’s button feature allows you to add items to specific databases without leaving the dashboard. This reduces friction, making it easier to capture information in the moment. Automation here means reducing the steps required to record data, which significantly increases the likelihood that you will actually use the system consistently over time.
Step 5: Optimize with Search and Review
Finally, refine your dashboard by testing the search function and reviewing the layout. Ensure that all links work and that filters are working as intended. Add a “Quick Links” section for external resources or frequently used Notion pages. Schedule a weekly review time to clean up completed tasks and archive old projects. A second brain is only as good as its maintenance. Regular optimization ensures the dashboard remains relevant and useful, adapting to your changing priorities and workflows without becoming a source of stress or clutter.
FAQ
Q: How often should I update my dashboard?
A: Review and tidy it up once a week to remove completed items and ensure filters remain relevant to your current priorities.
Q: Can I use this on mobile?
A: Yes, Notion is fully responsive, though complex dashboards may be harder to navigate on small screens, so keep the layout simple.
Q: What if I forget how to use a specific filter?
A: Add a brief note or tooltip next to the view explaining its purpose, or create a “Help” section in your dashboard for quick reference.
Leave a Reply