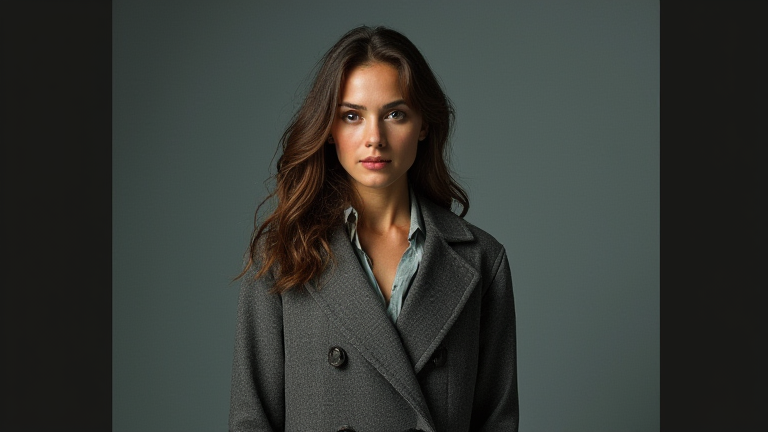
TL;DR: To capture professional portraits with the iPhone 15 Pro Max, switch to Portrait mode and select a focal length between 70mm and 120mm for optimal facial compression. Enhance your results by manually adjusting depth of field and utilizing natural lighting to create stunning, studio-quality images.
Preparing Your Device
Before you begin shooting, ensure your iPhone 15 Pro Max is updated to the latest iOS version to access all refined camera algorithms. Open the Camera app and swipe left until you see “Portrait” mode, which is essential for creating that blurred background effect known as bokeh. This mode utilizes the advanced LiDAR scanner and computational photography to separate your subject from the background effectively.

Selecting the Perfect Focal Length
The iPhone 15 Pro Max offers several lens options, but not all are ideal for portraits. Avoid the wide-angle lens, as it can distort facial features by making noses appear larger. Instead, tap the zoom controls to switch to 2x (77mm) or 5x (120mm) telephoto lenses. These focal lengths provide a flattering compression that naturally slims the face and creates a professional aesthetic. For headshots, the 5x lens is particularly effective, while the 2x lens works well for half-body shots, offering versatility without needing to change physical positions.
Mastering Lighting and Composition
Lighting is the most critical factor in portrait photography. Always position your subject facing a window or shoot during the “golden hour” shortly after sunrise or before sunset. Avoid harsh midday sun, which creates unflattering shadows under the eyes and nose. If you must shoot indoors, use a reflector or a simple lamp to fill in shadows. When composing your shot, use the rule of thirds by turning on the grid in your settings. Place your subject’s eyes along the top horizontal line to create a balanced and engaging composition that draws the viewer’s attention immediately to the face.
Adjusting Depth and Focus
Once your subject is framed, tap on their face to lock focus and exposure. You will notice a sun icon appear; drag it up or down to adjust brightness manually. After capturing the image, tap the f-stop number at the top left of the screen to adjust the depth of field. A lower f-stop (like f/1.4 or f/2.0) creates a more blurred background, while a higher number keeps more of the background in focus. Experiment with these settings in real-time to see how they affect the mood of the portrait.
Editing for Perfection
Do not skip post-processing. Open the photo in the Photos app and tap “Edit.” Use the Lighting tool to adjust studio lighting effects, adding a subtle rim light to separate the subject from the background. Adjust the Natural Vibrance slider to enhance colors without making them look artificial. Finally, apply a slight sharpening effect to bring out details in the eyes and hair, ensuring your final image looks crisp and professional.
FAQ
Q: Can I change the background blur after taking the photo?
A: Yes, you can edit the depth of field in the Photos app by tapping Edit and adjusting the f-stop slider to increase or decrease the blur intensity.
If you want to dig deeper, check out our guide on Teamsters Sue Over California’s Self-Driving Truck Rules.
Q: Which lens is best for headshots?
A: The 5x telephoto lens (120mm equivalent) is ideal for headshots because it provides flattering facial compression and minimizes distortion.
Q: Why do my portraits look flat?
A: Flat images often result from poor lighting or lack of depth. Ensure you have directional light sources and consider using Portrait Lighting effects to add dimension and contrast to your subject.
Leave a Reply