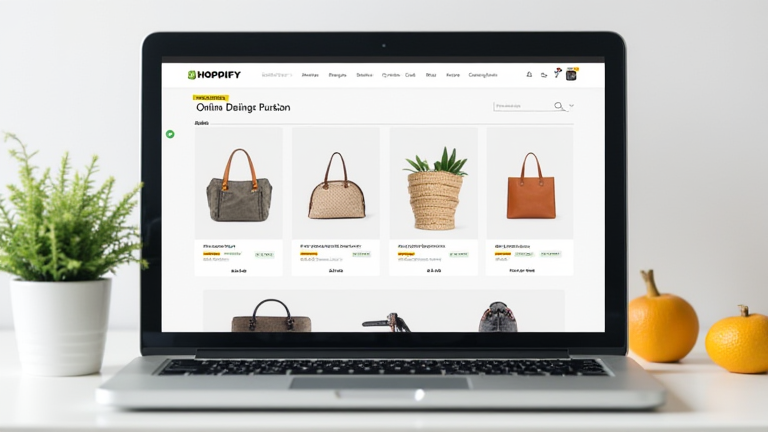
TL;DR: Launch your online business by signing up for a Shopify trial, selecting a responsive theme, and adding your first products with clear images and descriptions. Configure your payment gateways and shipping profiles before publishing your store to start selling immediately.
Shopify Store Setup Tutorial: Launch Your Online Business
Starting an e-commerce venture has never been more accessible, thanks to the intuitive interface and robust backend of Shopify. Whether you are an artisan, a dropshipper, or a brand manager, following a structured approach ensures a smooth launch. This guide walks you through the essential steps to build a professional storefront from scratch.
If you want to dig deeper, check out our guide on Can You Earn Cash Back on ACH Transfers?.
Step 1: Account Creation and Initial Setup
Begin by visiting the Shopify website and clicking the “Start free trial” button. You will be prompted to enter an email address and password. Next, provide your store name. Do not worry if you have not finalized your brand name yet, as you can change it later in the settings. Shopify will ask a few questions about your business goals and industry. Answering these accurately helps the platform suggest relevant apps and themes tailored to your specific niche.
Step 2: Selecting and Customizing Your Theme
Navigate to the “Online Store” section in the admin dashboard, then click on “Themes.” Browse the Shopify Theme Store for a design that matches your brand aesthetic. Free themes like “Dawn” or “Sense” are excellent starting points because they are lightweight and mobile-responsive. Once you select a theme, click “Customize.” Here, you can upload your logo, change fonts, and adjust color schemes. Ensure your navigation bar is clean and easy to understand. A cluttered menu confuses customers and increases bounce rates. Keep your hero section impactful with a high-quality image and a clear call-to-action button.
Step 3: Adding Products
Go to the “Products” tab and click “Add product.” Enter your product title, description, and pricing. Use the description field to highlight key features and benefits, not just specifications. Include high-resolution images from multiple angles. Good photography is crucial for converting visitors into buyers. Set your inventory tracking if applicable, and assign a SKU for better organization. If you are dropshipping, connect a supplier app now to automate inventory sync. Ensure all product variants, such as size and color, are correctly configured to avoid shipping errors.
Step 4: Configuring Payments and Shipping
Under “Settings,” click “Payments.” Activate Shopify Payments if available in your region, as it offers lower transaction fees. For international customers, add PayPal or other popular gateways. Next, configure your shipping rates. You can set up flat rates, free shipping thresholds, or carrier-calculated rates. Create a shipping policy page to inform customers about delivery times and costs. Transparency here builds trust and reduces support inquiries.
Step 5: Final Checks and Launch
Before going live, remove any test products and clear your cart. Update your contact information and social media links in the footer. Check your store on a mobile device to ensure everything is responsive. Finally, disable password protection by going to “Online Store” and “Preferences.” Enter your domain name if you have purchased one, or use your free myshopify.com domain. Once you click “Publish,” your store is live. Share the link on social media to drive initial traffic.
FAQ
Q: How much does it cost to start a Shopify store?
A: Shopify offers a three-day free trial, followed by discounted rates for the first month. Standard plans start at $29 per month, plus any costs for custom themes or apps.
Q: Can I sell digital products on Shopify?
A: Yes, you can sell digital products using the “Digital Downloads” app or third-party apps that allow you to upload files for customer access after purchase.
Q: Do I need a separate website domain?
A: While you can use your free myshopify
Leave a Reply