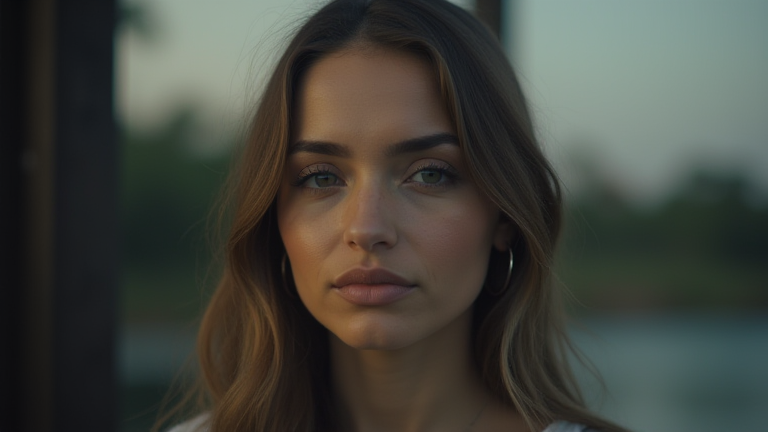
TL;DR: Create a moody film look in Lightroom by lowering contrast, lifting blacks, shifting highlights to teal, and adding a subtle green tint to shadows. Use a strong S-curve and grain to mimic analog film.
Step 1: Start with a Flat Base
Import your photo and set the Profile to “Adobe Neutral” (or “Flat” on newer versions). This reduces built-in contrast and gives you a clean canvas. Drop Contrast to -25 and raise Shadows to +40. This “flattens” the image, mimicking the low dynamic range of old film stocks.
If you want to dig deeper, check out our guide on 7 Micronutrients Worth Tracking for Better Health.
Step 2: Shape the Tone Curve
Open the Tone Curve panel. Set the RGB curve to a gentle “S” shape: lift the bottom-left point slightly (to create faded, milky blacks) and pull the top-right point down a touch (to soften highlights). Then, in the Blue channel, add a small upward curve in the shadows (adds warmth) and a downward curve in the highlights (adds cool teal). This dual-tone shift is the core of the film look.
Step 3: Adjust Color Mixer for Skin and Foliage
Go to the HSL/Color panel. In the Luminance tab, drop Orange by -15 (darkens skin) and raise Green by +10 (mutes foliage). In the Saturation tab, reduce Yellow to -20 and boost Teal to +15. This desaturates the “digital” colors of cheap cameras and pushes everything toward muted, earthy tones.
Step 4: Add Grain and Vignette
Open the Effects panel. Set Grain Amount to 35, Size to 25, and Roughness to 60. This simulates the organic noise of 35mm film. Then, set Vignette to -15 (darkens edges) with Midpoint at 40. This draws the eye inward and adds a cinematic frame.
Step 5: Fine-Tune with Calibration
In the Calibration panel (bottom of the right sidebar), shift the Green Primary Hue to +20 and the Blue Primary Hue to -15. This turns greens slightly olive and blues toward indigo—a signature of classic Kodak film. Finally, drop the Saturation of the Red Primary to -10 to prevent skin from looking plastic.
Pro Tips
Use a mask (linear gradient) to darken the sky separately, since film often has uneven exposure. Save your preset by clicking the “+” in the Presets panel, and name it “MoodyFilm_01.” Always apply grain last—if you export at a smaller resolution, the grain will look too heavy, so reduce it by 10% for web use.
FAQ
Q: Why do my blacks look muddy instead of faded?
A: You lifted the shadows too high on the tone curve. Set the bottom-left point to just 5-10% above the baseline, and use the Shadows slider (+20 to +30) instead of the curve for a cleaner fade.
Q: Can I use this preset on portraits?
A: Yes, but reduce the Teal saturation to +5 and lower Grain to 20. For skin tones, add +5 to Orange Luminance to keep faces brighter than the background.
Q: How do I make the look stronger or subtler?
A: In the Presets panel, right-click your saved preset and choose “Update with Current Settings.” Or, after applying, lower the overall Preset Amount slider (if using Lightroom Classic 12+) to 70% for a subtler effect.
Leave a Reply