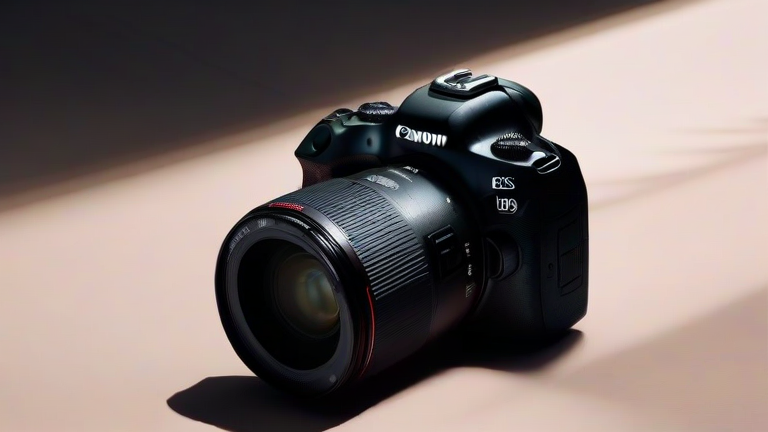
TL;DR: To start photography with the Canon EOS R50, switch to Auto mode to let the camera handle exposure settings while you focus on composition. Gradually transition to Creative Assist mode to learn manual controls without feeling overwhelmed by complex menus.
Getting Started with Your Canon EOS R50
The Canon EOS R50 is an exceptionally user-friendly mirrorless camera, making it the perfect entry point into the world of serious photography. Its lightweight design and intuitive interface allow beginners to focus on artistic expression rather than technical hurdles. This guide will walk you through the essential steps to capture stunning images right out of the box.
If you want to dig deeper, check out our guide on Quantum Computing Hits Commercial Viability: What It Means.
Step 1: Initial Setup and Battery Charging
Before powering on your camera, ensure the battery is fully charged. Connect the included LC-E17 charger to a power source and insert the battery. Once charged, insert the SD card into the designated slot on the side of the camera, ensuring the gold contacts face inward. Insert the battery until it clicks into place. Turn the camera on using the power switch located on the top right. Follow the on-screen menu to set your date, time, and language. It is highly recommended to enable the “Guide” function in the setup menu, as this provides helpful context for every setting you encounter.
Step 2: Mastering the Mode Dial
The mode dial is your primary tool for controlling how the camera captures light. Start by turning the dial to the green “Auto” icon. In this mode, the camera automatically selects the aperture, shutter speed, and ISO. This allows you to concentrate solely on framing your subject and achieving sharp focus. As you become more comfortable, rotate the dial to “Creative Assist.” This mode offers sliders to adjust brightness, saturation, and filter effects in real-time on the LCD screen, providing immediate visual feedback.

Step 3: Understanding Autofocus
The R50 features Canon’s Dual Pixel CMOS AF II, which is incredibly fast and reliable. For beginners, select “Face/Eye Detection” in the autofocus settings. This ensures the camera prioritizes focusing on the eyes of your subject, resulting in sharp portraits every time. Tap the screen to select your subject, and the camera will track it seamlessly, even if the subject moves. This feature is particularly useful for capturing children, pets, or action shots where timing is critical.
Step 4: Composition and Framing
Use the electronic viewfinder or the rear LCD screen to compose your shots. Apply the rule of thirds by enabling the grid lines in the display settings. Position your subject along these lines or at their intersections for a balanced and engaging composition. Take multiple shots from different angles and distances. Experiment with portrait and landscape orientations to see which best suits your subject. Remember, photography is about seeing light and shadow, not just recording what you see.
Step 5: Review and Learn
After taking a photo, review it on the LCD screen. Check for sharpness, exposure, and composition. If the image is too dark or bright, adjust the exposure compensation dial slightly and retake the shot. Use the playback mode to zoom in and check critical focus areas. Learning from your mistakes is just as important as taking the picture itself. Over time, you will develop an intuitive sense for the ideal settings for various lighting conditions.
FAQ
Q: Can I use my existing EF lenses with the EOS R50?
A: Yes, you can use Canon EF and EF-S lenses with the EOS R50 by using the official Canon Mount Adapter EF-EOS R.
Q: What is the best SD card speed for the R50?
A: A UHS-I U3 speed class card is recommended for smooth 4K video recording
Leave a Reply