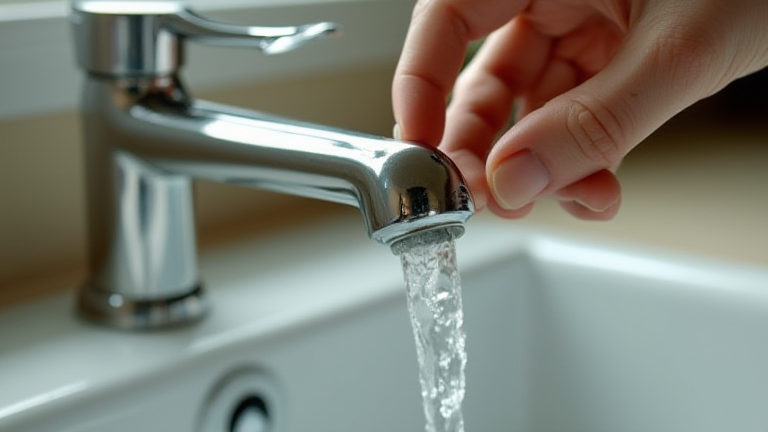
TL;DR: Turn off the water supply, disassemble the faucet handle, and replace the worn washer or O-ring with a matching new part. Reassemble the components carefully to restore a watertight seal and stop the drip permanently.
How to Fix a Leaky Kitchen Faucet: Step-by-Step DIY Tutorial
Fixing a leaky kitchen faucet is a manageable DIY project that saves money and prevents water waste. Before you begin, gather your tools: adjustable wrench, screwdrivers, replacement washers or O-rings, and plumber’s grease. Ensure you have the correct replacement parts by bringing the old ones to the hardware store or checking your faucet model online.
If you want to dig deeper, check out our guide on 7 Lesser-Known Money-Saving Tips You Need to Try.

First, locate the shut-off valves under the sink and turn them clockwise to stop the water flow. Open the faucet to drain any remaining water in the lines. This step is crucial to prevent flooding when you disassemble the fixture.
Next, remove the decorative cap on the faucet handle using a flathead screwdriver or a knife. Unscrew the handle screw and lift off the handle. You may need to apply some force if it is stuck due to mineral buildup. If necessary, use a faucet handle puller for stubborn cases.
Inspect the stem and identify the worn washer or O-ring causing the leak. These rubber components degrade over time due to friction and water pressure. Remove the old parts and clean the area of any debris or corrosion. Apply a thin layer of plumber’s grease to the new parts to ensure a smooth fit and prolong their lifespan.
Reassemble the faucet in the reverse order of disassembly. Tighten all screws securely but avoid over-tightening, which can damage the threads or crack the plastic components. Turn the water supply back on slowly and check for leaks. If the faucet still drips, ensure all connections are tight and the new parts are seated correctly.
FAQ
Q: How long does it take to fix a leaky faucet?
A: Most repairs take between 30 minutes to an hour, depending on the complexity of the faucet and your familiarity with the tools.
Q: Can I use any replacement parts for my faucet?
A: No, you must use parts specifically designed for your faucet model to ensure a proper fit and effective seal.
Q: What should I do if the leak persists after replacement?
A: Check for cracks in the valve seat or damaged stems, which may require professional assessment or complete faucet replacement.
Leave a Reply