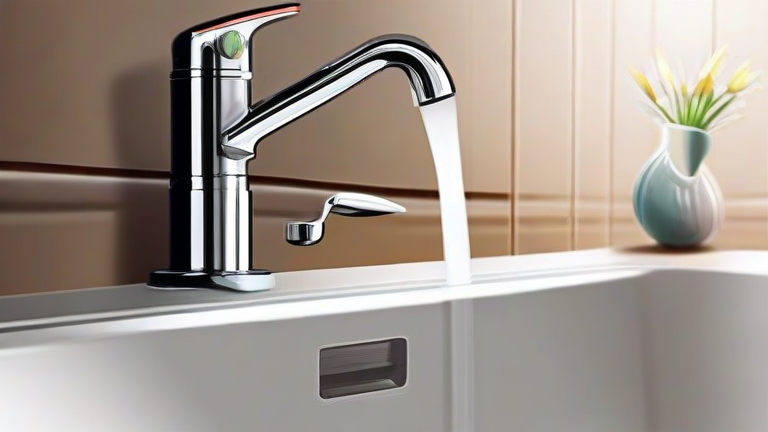
TL;DR: Turn off the water supply, disassemble the faucet handle, and replace the worn-out washer or cartridge. Reassemble the components and test for leaks to ensure a successful repair.
How to Fix a Leaky Faucet: Step-by-Step Plumber Tutorial
If you want to dig deeper, check out our guide on Top 10 Trends Shaping the Future: What You Need to Know.
A dripping faucet is not just annoying; it wastes gallons of water and drives up your utility bills. Fortunately, fixing a leaky faucet is a straightforward DIY project that requires minimal tools and basic plumbing knowledge. By following these steps, you can restore your kitchen or bathroom fixture to perfect working condition without calling a professional.

First, gather your necessary tools. You will typically need an adjustable wrench, a Phillips head screwdriver, a flathead screwdriver, and a replacement washer or cartridge specific to your faucet model. It is crucial to identify your faucet type before starting. Compression faucets have separate hot and cold handles, while cartridge, ball, and ceramic disk faucets have different internal mechanisms. Knowing this distinction helps you buy the correct replacement parts.
Next, shut off the water supply. Locate the shut-off valves under the sink and turn them clockwise until they are tight. If you cannot find individual valves, turn off the main water supply to your house. Once the water is off, open the faucet to drain any remaining water from the lines. This prevents spills and ensures a dry workspace.

Now, remove the faucet handle. Look for a decorative cap on top of the handle, often labeled “H” or “C.” Pry it off gently with a flathead screwdriver. Underneath, you will find a screw holding the handle in place. Remove this screw and lift the handle off. If it is stuck, use pliers to gently wiggle it free.
For compression faucets, you will see a packing nut. Use your adjustable wrench to remove this nut. Underneath, locate the brass stem and unscrew it. At the bottom of the stem, you will find a rubber washer held by a screw. Remove the old washer and replace it with a new one of the exact same size. For cartridge faucets, you may need to pull out the entire cartridge using a special tool or pliers. Replace the old cartridge with a new one, ensuring it aligns correctly with the housing.
Reassemble the faucet in reverse order. Insert the stem or cartridge, tighten the packing nut, and secure the handle with its screw. Replace the decorative cap. Turn the water supply back on slowly and test the faucet. Check for leaks around the handle and spout. If it drips, tighten connections slightly or recheck your washer placement.

Regular maintenance prevents future leaks. Clean aerators periodically and avoid turning the faucet on and off with excessive force. If the problem persists after following these steps, the valve seat may be damaged, requiring professional attention.
FAQ
Q: How much does it cost to fix a leaky faucet?
A: It typically costs between $150 and $250 if hired out, but DIY repairs usually cost under $20 for parts.
Q: Can I fix a leaky faucet without turning off the water?
A: No, you must turn off the water supply to prevent flooding and allow for safe disassembly of the components.
Q: What causes a faucet to drip?
A: Worn-out washers, O-rings, or corroded valve seats are the most common causes of dripping faucets over time.
Leave a Reply