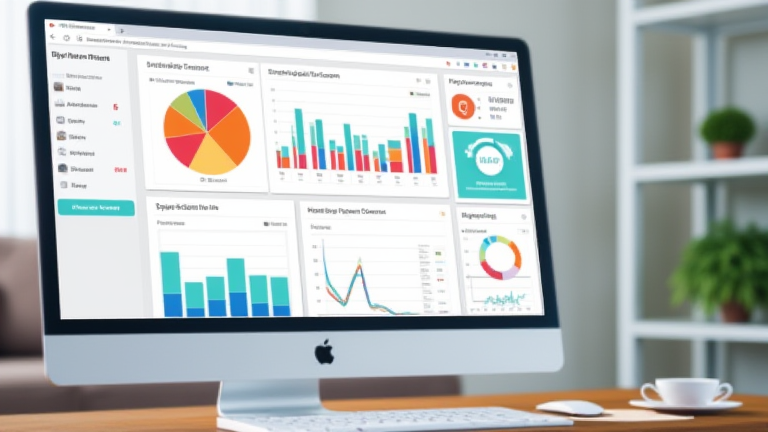
TL;DR: Create a new database with multiple views like Kanban, Table, and Calendar to visualize different aspects of your project. Customize properties to track tasks, deadlines, and assignees, then use templates for recurring workflows.
Step 1: Initialize Your Database
Begin by opening your Notion workspace and creating a new page dedicated to your project. Inside this page, select “New Database” and choose “Table” as the initial view. Name it “Project Tracker.” This central repository will hold all your tasks, ensuring that every team member looks at the same source of truth. Avoid using separate lists for different team members, as this leads to data silos and confusion. Instead, use a single database with a “Team Member” property to filter views later.
If you want to dig deeper, check out our guide on 7 Shopify Store Optimization Tactics to Boost Sales.
Step 2: Define Essential Properties
Click the plus icon next to the database header to add properties. Start with the basics: “Task Name” (Title), “Status” (Select), “Priority” (Select), “Due Date” (Date), and “Assignee” (People). For the “Status” property, add options like “To Do,” “In Progress,” “Review,” and “Done.” For “Priority,” use “Low,” “Medium,” and “High.” Adding a “Description” (Text) property allows you to add context or links to relevant documents. Keep the number of properties manageable; only add what is strictly necessary for daily operations. Overcomplicating the schema reduces usability and slows down data entry.
Step 3: Create Multiple Views
Click the plus icon next to the “Table” tab to create new views. Add a “Board” view and group by “Status.” This Kanban board is perfect for visualizing workflow and moving tasks through stages. Next, add a “Calendar” view to see deadlines at a glance. This helps in identifying bottlenecks and over-scheduled days. Finally, create a “Gallery” view if you want to attach images or files directly to tasks. Each view serves a distinct purpose, allowing stakeholders to interact with the data in the way that best suits their role. For example, developers might prefer the table view for detailed sorting, while managers prefer the board view for high-level oversight.
Step 4: Automate with Templates and Links
Set up templates within your database for common tasks, such as “Bug Report” or “Feature Request.” This pre-fills properties and adds standard checklists, ensuring consistency. Use relations to link tasks to larger projects or other databases if you are managing multiple initiatives. This creates a cohesive ecosystem where progress in one area automatically reflects in related views. Tip: Use filters in your views to show only “My Tasks” or “Overdue Items” to keep the interface clean and focused. Regularly review your dashboard to remove clutter and archive completed projects to maintain performance and clarity.
FAQ
Q: Can I share my dashboard with external clients?
A: Yes, you can share the page with external guests, but ensure you restrict editing permissions to only the specific properties they need access to.
Q: How do I handle dependencies between tasks?
A: Use a “Linked Tasks” relation property to connect dependent items, allowing you to see if a prerequisite task is completed before starting the next one.
Q: Is Notion suitable for large-scale enterprise projects?
A: Notion is best for small to mid-sized teams; for very large enterprises, consider integrating with specialized project management tools for advanced reporting and security features.
Leave a Reply