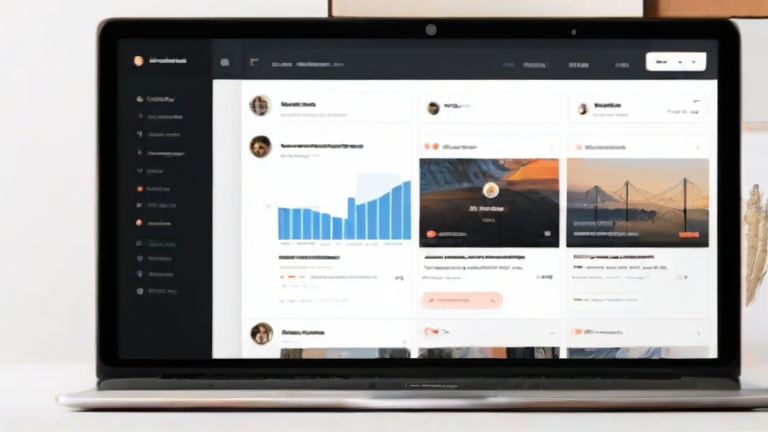
TL;DR: Create a single Notion database with columns for client name, project status, and billing details to centralize all interactions. Add a filtered view for active projects and a dashboard page with linked views to instantly track deadlines, invoices, and communication logs without switching tools.
Step 1: Set Up the Master Database
Open Notion and create a new page titled “Client Hub.” Inside, add a database. Choose the “Table” view for maximum flexibility. Rename the default title column to “Client Name.” Now, add the following properties: “Status” (Select: Active, Inactive, Archived), “Primary Contact” (Text), “Current Project” (Text), “Next Invoice Due” (Date), and “Total Value” (Number). This structure serves as your single source of truth for every client relationship you manage.
If you want to dig deeper, check out our guide on Solid-State Batteries for EVs: Mass Production Begins.
Step 2: Create the Active Projects View
Click the “+” icon next to the existing table view and select “Table” again. Rename this view to “Active Clients.” Click the filter icon and set the condition: “Status” is “Active.” This view will automatically hide archived or paused clients, keeping your daily workspace clutter-free. Sort the table by “Next Invoice Due” in ascending order to prioritize financial follow-ups. You can now see at a glance who needs billing attention immediately.
Step 3: Add a Kanban Board for Workflow
Add another view and select “Board.” Use the “Status” property to create columns. Change the labels to reflect your actual workflow: “Onboarding,” “In Progress,” “Review,” and “Complete.” Drag and drop client cards between columns as projects evolve. This visual representation helps you spot bottlenecks quickly. If three clients are stuck in “Review,” you know to follow up on feedback or adjust your capacity planning for the week.
Step 4: Build the Dashboard Page
Go back to your main “Client Hub” page. Above the database, add a “Toggle” or “Header” block to label it “Dashboard.” Below this, use the “Link to Page” or “Linked View” block. Create three separate linked views: “Overdue Invoices,” “Upcoming Deadlines,” and “New Leads.” For “Overdue Invoices,” filter for “Next Invoice Due” before today and “Status” active. This dashboard gives you a high-level overview without drilling into the full database every time you log in.
Pro Tips for Efficiency
Use templates within your database rows. When you add a new client, a template can auto-populate the initial project brief and contract checklist. This saves repetitive typing and ensures consistency. Additionally, enable “Synced Blocks” for common legal disclaimers or payment terms so you never have to copy-paste the same text across different client documents. Keep the database clean by archiving inactive clients monthly to maintain performance and clarity.
FAQ
Q: Can I connect this to my email automatically?
A: Yes, use Notion’s API or third-party tools like Zapier to create new database entries from specific email labels, automating your lead intake process.
Q: Is this dashboard mobile-friendly?
A: Absolutely. Notion’s mobile app supports all database views, allowing you to update statuses and view deadlines from your phone while on the go.
Q: How do I secure client data in this system?
A: Keep the database on a private page within your workspace. Avoid sharing public links and use strong passwords or two-factor authentication to protect access to sensitive financial and personal information.
Leave a Reply