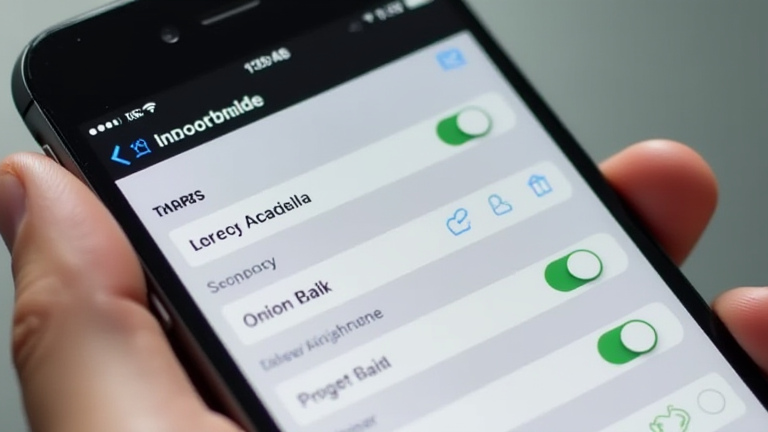
TL;DR: The iPhone Shortcuts app allows you to automate repetitive tasks and create custom workflows by chaining together specific actions. You can build these automations from scratch or use pre-made templates to save time and enhance your daily productivity.
Getting Started with Shortcuts
The Shortcuts app is a powerful built-in utility on iOS that lets you create automated actions. These actions, called shortcuts, can perform a variety of tasks, from sending a text message to creating a calendar event. The interface is designed to be intuitive, allowing users to chain multiple actions together into a single, seamless workflow. Whether you are a tech novice or an expert, the app provides a visual way to manage your device’s functionality without needing to code.
If you want to dig deeper, check out our guide on ChatGPT for Teens: What Parents Need to Know.
Step 1: Explore Pre-Made Shortcuts
Before building your own, it is wise to explore the vast library of pre-made shortcuts. Open the app and tap on the “GALLERY” tab at the bottom of the screen. Here, you will find categories ranging from social media to utilities. Browse through the available options and select one that interests you. Tap on a shortcut to see its details and then click “ADD SHORTCUT.” This action installs the shortcut to your “MY SHORTCUTS” tab. You can then run it by tapping the play button. This is an excellent way to understand how actions are structured without the pressure of creating something from scratch.
Step 2: Create a New Shortcut
Once you are comfortable with existing shortcuts, it is time to create your own. Navigate to the “MY SHORTCUTS” tab and tap the “+” icon in the top right corner. This opens the editor where you can build your workflow. The first step is to add an action. Tap the “ADD ACTION” button and use the search bar to find specific tasks. For example, you might search for “Send Message” or “Take Photo.” Select the action, and it will appear in your workflow. You can add multiple actions by repeating this process. Each action can be customized with specific parameters, such as the recipient of a message or the settings for a photo.
Step 3: Customize and Name Your Shortcut
After adding your desired actions, it is crucial to name your shortcut. Tap the arrow next to the shortcut name at the top of the screen. Here, you can give it a descriptive name, choose an icon, and select a color. A good name helps you quickly identify what the shortcut does. You can also add the shortcut to your Home Screen for easy access. This creates an app-like icon that runs the automation with a single tap. Ensure that all actions are connected logically. Test your shortcut by running it to confirm it works as expected.
Step 4: Use Automation for Hands-Free Tasks
One of the most powerful features is automation. You can set shortcuts to run automatically based on triggers. For instance, you can create a shortcut that plays your favorite music when you arrive at work. To do this, go to the “AUTOMATION” tab and tap “CREATE PERSONAL AUTOMATION.” Choose a trigger, such as location or time, and then assign your shortcut. This allows for a truly hands-free experience, making your iPhone work for you rather than the other way around.
FAQ
Q: Can I share shortcuts with others?
A: Yes, you can share shortcuts via AirDrop, Messages, or by generating a web link that others can use to add the shortcut to their devices.
Q: Are shortcuts safe to use?
A: Shortcuts are generally safe, but always review the actions in a shortcut before running it, especially if you downloaded it from an unknown source.
Q: Can I edit a pre-made shortcut?
A: Yes, you can open any shortcut from the gallery in the editor, modify the actions, and save it as a new version or overwrite the existing one.
Leave a Reply